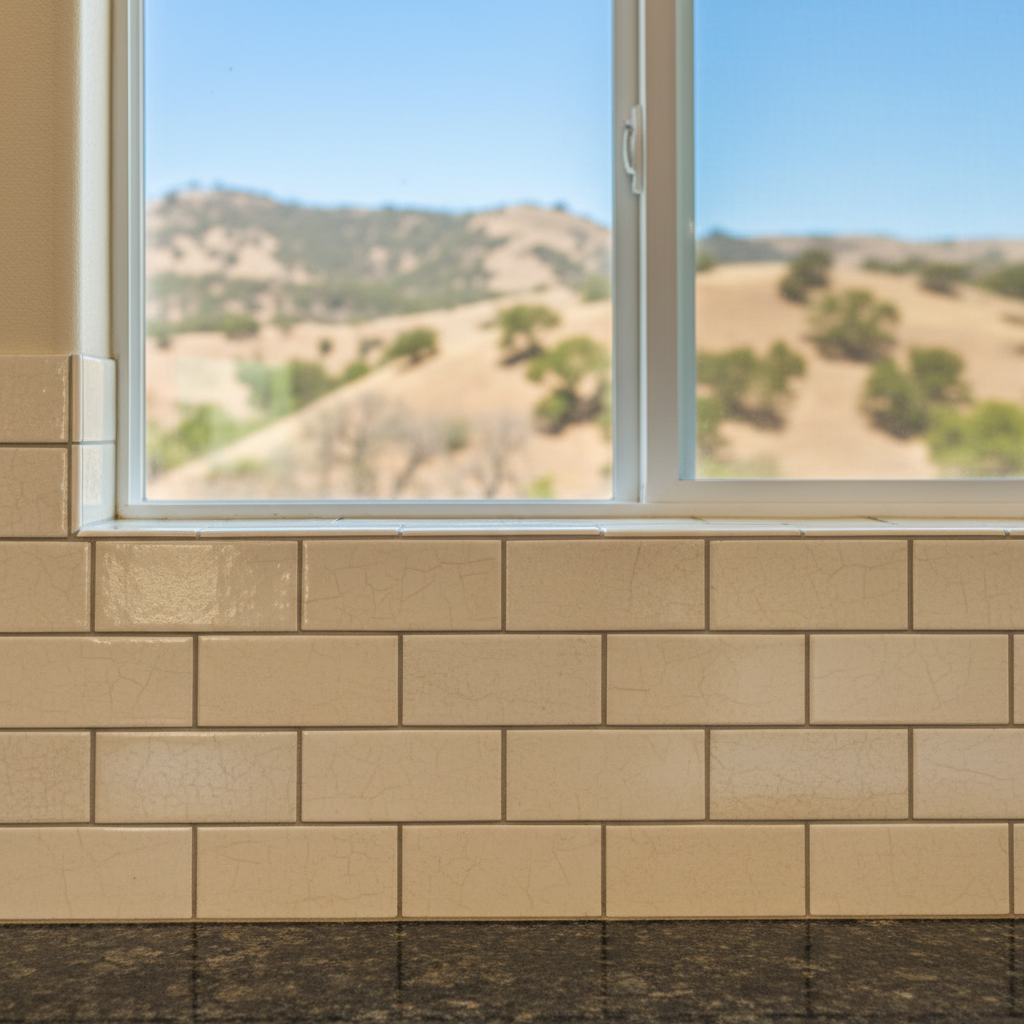
Thinking About a New Backsplash?
So, you're thinking about a new backsplash for your kitchen, huh? It's a pretty common project, and for good reason. A fresh backsplash can totally change how your kitchen looks without needing a full-blown remodel. But before you jump in, let's talk about what you're really getting into. I've seen my fair share of backsplash jobs, good and bad, all over Santa Clarita, and believe me, there's a lot to think about.
First things first: can you DIY a backsplash? Absolutely. Plenty of homeowners do it, and often with decent results. But there's a big difference between 'decent' and 'professional,' wouldn't you agree? It really comes down to how comfortable you are, what tools you have, and honestly, your patience. Some backsplashes are way easier than others, that's for sure.
Before You Even Buy Tile
This is where most people skip steps, and it usually bites them later. You wouldn't build a house without a blueprint, right? It's the same idea here.
- Measure Twice, Buy Once: Seriously, this isn't just a saying. Measure your wall space, then measure it again. Add 10-15% extra for cuts, any mistakes you might make, and future repairs. You really don't want to be halfway through a job only to find you're short on a specific dye lot of tile. That's a headache nobody needs.
- Pick Your Tile Wisely: This isn't just about color, you know. Think about the material. Ceramic and porcelain are pretty forgiving if you're a beginner. Natural stone (like marble or travertine) looks amazing but it’s softer, harder to cut without chipping, and needs sealing. Glass tiles? They’re beautiful, but cutting them cleanly without special blades can be a real pain, and they show every tiny imperfection underneath.
- Substrate Matters: What's hiding behind your existing backsplash or paint? If it’s just drywall, that's usually fine. But if you're dealing with old wallpaper glue, uneven surfaces, or even some moisture issues (especially around the sink), you need to fix that first. A smooth, clean, and dry surface isn't negotiable.
- Tools of the Trade: You'll need a good tile cutter (a manual snap cutter for ceramic/porcelain, a wet saw for stone/glass), a notched trowel, a grout float, sponges, buckets, and a level. Don't cheap out on the level – a crooked backsplash practically screams 'DIY gone wrong.'
The Installation Process: Where DIY Gets Tricky
Alright, you've got your materials and tools. Now for the fun part. Or the frustrating part, depending on your skill level.
- Layout is Key: Don't just start slapping tiles on the wall. Find your center point, draw a level line, and do a dry run. Lay out your tiles on the floor exactly how they'll go on the wall. This helps you figure out cuts, especially around outlets and corners, and makes sure it looks balanced. You really don't want tiny slivers of tile at the ends if you can avoid it.
- Adhesive Application: Use the right thin-set mortar for your tile type. Mix it so it's about the consistency of peanut butter – not too runny, not too stiff. Spread it evenly with your notched trowel, making sure you get good coverage on the back of the tile too (that's called back-buttering). This prevents hollow spots that can lead to cracked tiles later.
- Cutting Around Outlets: This is where most DIYers either shine or struggle. You'll need to turn off the power, remove the outlet covers, and carefully mark and cut your tiles to fit around the boxes. A grinder with a diamond blade or a wet saw is your best friend here. Don't try to just chip away at it – you'll end up with jagged edges, trust me.
- Grouting: Once your thin-set is fully cured (usually 24 hours), it's time to grout. Pick a grout color that looks good with your tile. Apply it with a rubber float, pushing it firmly into all the joints. Work in small sections, then wipe off the extra with a damp sponge. This takes some elbow grease and a few passes to get it clean.
When to Call a Pro (Like Top Notch Kitchen Remodeler)
Look, I'm all for saving a buck and doing things yourself. But there are times when it just makes sense to bring in someone who does this for a living. Here’s when you should seriously think about it:
- Complex Patterns: Herringbone, intricate mosaics, or anything with a lot of small cuts? That's a time-consuming nightmare for a beginner. A pro can get it done efficiently and precisely.
- Uneven Walls: Homes in Santa Clarita, especially some of the older ones in areas like Canyon Country, can have walls that aren't perfectly straight or flat. A professional knows how to deal with these imperfections so your tile still looks straight.
- High-End Materials: If you're putting money into expensive natural stone or delicate glass, you really don't want to mess it up. The cost of replacing botched cuts can quickly make the DIY savings disappear.
- Time is Money: If you've got a busy schedule and can only spare an hour here or there, a backsplash project can drag on for weeks. A pro can typically finish it in a day or two, depending on the size.
- You Just Don't Feel Confident: No shame in admitting it. If the thought of cutting tile or spreading thin-set makes you break out in a cold sweat, it's probably not the right DIY project for you.
Ultimately, a backsplash is a very visible part of your kitchen. You’re going to be looking at it every single day. If you want it to look sharp, clean, and perfectly installed, sometimes the best DIY is knowing when to hire a professional. Give us a shout at Top Notch Kitchen Remodeler if you decide it's more than you want to chew off. We're happy to help.